
This is a shooting tutorial that was submitted by Andreane Fraser on the SLR Lounge forums. If you are interested in having your work featured on the SLR Lounge site, post your work on the SLR Lounge Constructive Critique section and we will take a look at it.
About Andreane Fraser
My love story with photography started the day I bought an Olympus OM-1 with a 50mm f1.8 and left to spend the weekend in New York City, in 2000. I had no idea what I was doing, but I learned photography with this camera.
Over the years, I shot mostly landscape and cityscapes, and in 2003, I made the jump to a DSLR. Along the way, I discovered a passion for abandoned buildings, and places. When I photograph them, I like to imagine the stories, the people, and the life that once inhabited these places. To me, they are very nostalgic.
A few years ago, I finally decided to work with newborns, kids, and families. Since then, I have also added engagements and weddings. I love giving my clients beautiful photographic memories. I have several personal projects lined up for next spring and summer, and really look forward to it! The addition of lighting gear has changed the way I work tremendously, I am happy to report that my off camera flash phobia has been cured!
Background and Vision
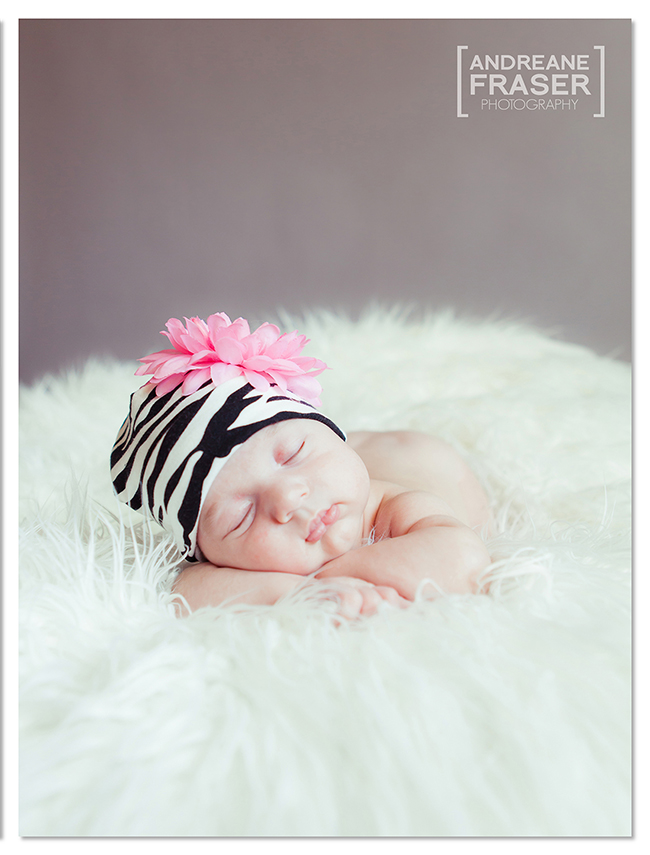
This baby portrait was originally supposed to be including two babies, but her twin baby girl did not want to cooperate after a few hours of shooting, so this little cute one was the only one posing for this shot. Newborn photography can be challenging at times, but it’s always fun. They were almost two months old when I photographed them, unlike my usual newborn clients, who are typically between 7 and 15 days old. Being twins, they were a bit smaller than the regular 2 months old. As a usual safety-first with newborns, mom was very close by.
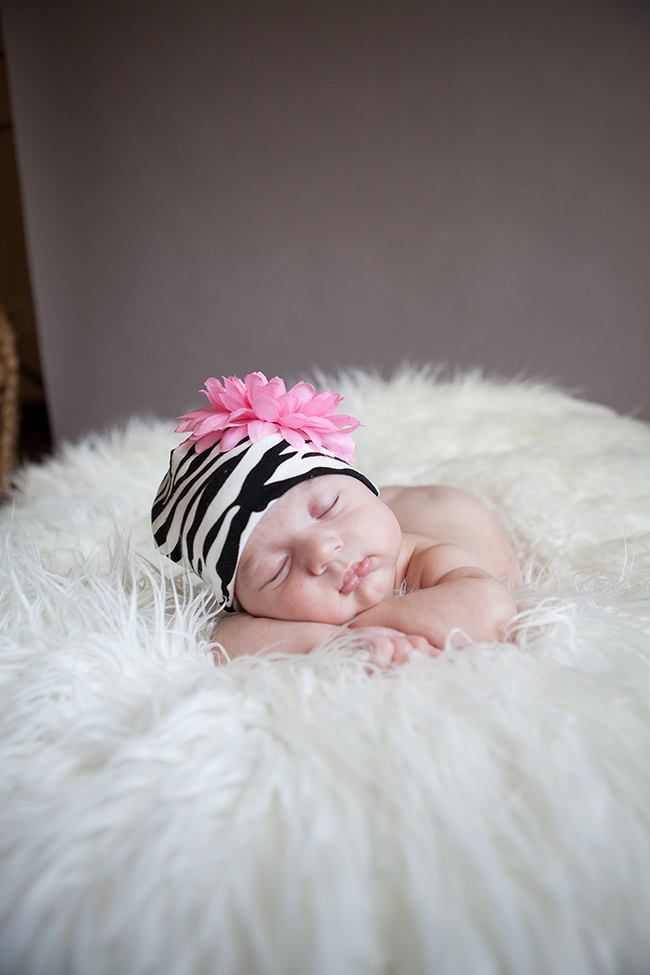
Here is the image straight out of the camera.
How You Shot It
Camera: Canon 5D MkII
Lens: Canon EF 24-70mm f/2.8L USM Standard Zoom Lens
Focal Length: 24mm
Shutter Speed: 1/80 sec
Aperture: f/2.8
ISO: 500
Lens: Canon EF 24-70mm f/2.8L USM Standard Zoom Lens
Focal Length: 24mm
Shutter Speed: 1/80 sec
Aperture: f/2.8
ISO: 500
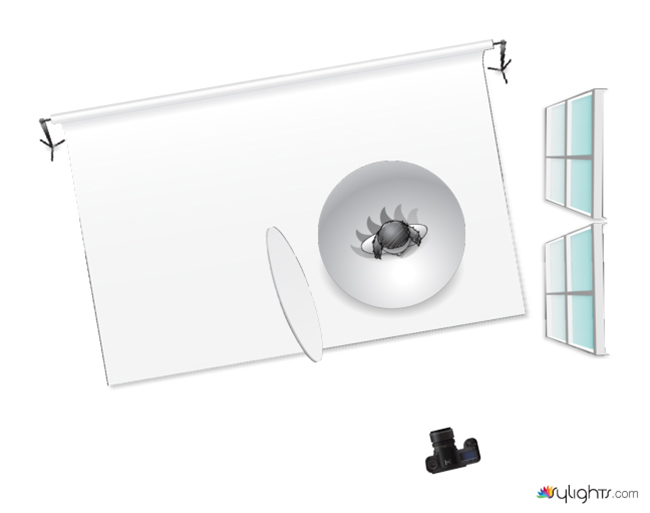
I used window light on camera right as my main light source, and the mother held a Photoflex 42″ reflector on camera left to bounce back some of the light on the baby. The newborn was lying on a Posey Pillow bean bag with a Mongolian Shag Faux Fur. I used my Linco background stand with grey 53” seamless thunder grey paper for my background.
How You Processed It
I imported the RAW image into Lightroom 4, and cropped and straightened my image. I then enabled the lens correction to match my 24-70mm f2.8L. A few months ago, I purchased SLR Lounge’s Lightroom 4 Preset System, and I have been making good use of it. I find that it is a very versatile and complete set.
1. I applied the Skin Softening Preset to smooth the baby’s skin, making sure to avoid using the brush over the eyes, and mouth. You want to keep those sharp, and clear. After using the brush on the baby’s skin, I often lower the clarity a little bit more simply because I love how it smooths the baby’s skin.
2. I used the Special Effect Dreamy Declarify adjustment brush to smooth out the grey background.
3. I applied the “Cloudy” white balance
4. Then, I used the Portrait Flatten Preset in the SLR Lounge Lightroom Presets.
5. I added Teal/Violet Color Toning Preset
6. Next, I increased the Exposure +.50, and increased the Vibrance +17.
7. Finally, I applied Ivory Neutral Punch Preset.
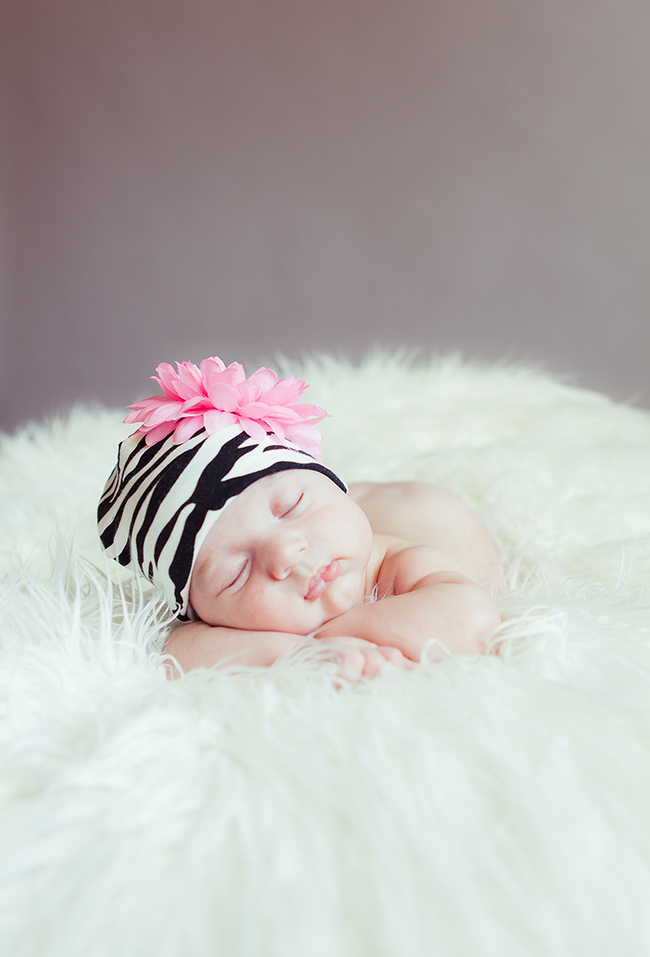
Final Before/After Image
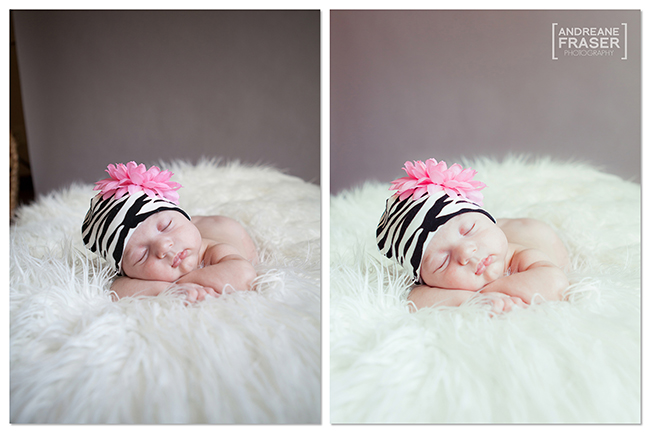
I don’t have unique funky techniques that I use when I edit my photos. My workflow is pretty efficient, and I find myself being done fairly quickly. I edit 95% of my images in Lightroom 4 and 5% in Photoshop CS6 for the special little things.


